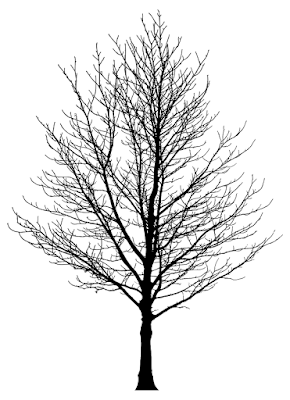
The first thing to do is to select a nice shape. I used a black and white SVG file for the tree that looked like this:
The SVG file is run though some program that generates the G-code, which is a list of commands that tells how the CNC machine shall move in order to cut the shape in the wooden board. I have made my own G-code generators, but there are both commerical and free tools available. I can recommand the free tool called F-engrave which is very a competent program.
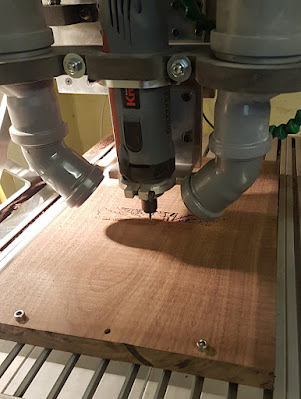
The CNC then gets to work and cuts the shape in the piece of wood.
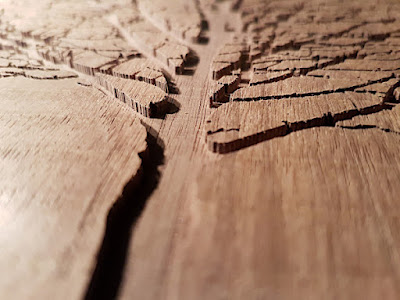
It cuts the shape like a 'pocket' in the wood.
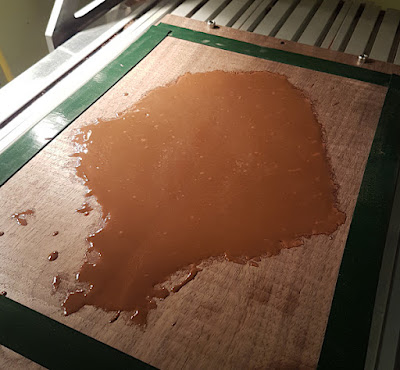
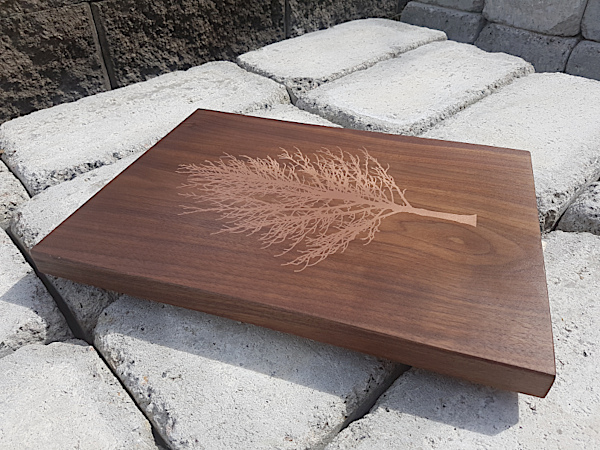
The pocket is filled with a mixture of two-component epoxy resin and pure copper powder of very fine degree.
Finally the excess resin is cut away, and the top surface is sanded and treated with oil or lacquer.
No comments:
Post a Comment